 |
| Email option in blogger |
In this tutorial, you will see how to post your blog from your email account, get notifications when someone leaves a comment on your posts and also get notifications whenever you publish posts.
How to configure Email option in blogger settings?
You have to follow below steps to configure Email option in blogger settings-
1. First of all open Blogger.com and sign in with your Gmail/Google Email ID and password.
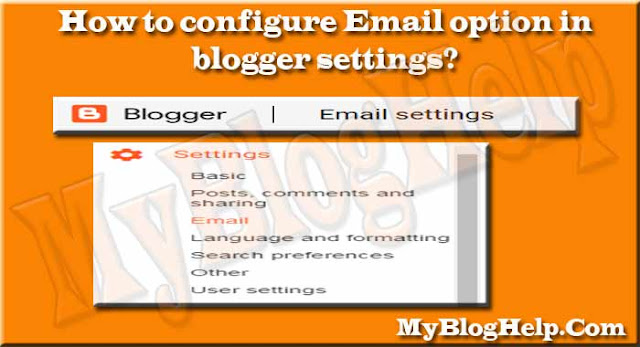
2. Click on Settings
3. Select Email
2. You can select either Publish email immediately or Save emails as a draft post.
3. If you don't want both of them you can select Disabled option.
4. Now click on Save settings.
Your created address will look like username.secretword@blogger.com.
2. Create a new message to click on compose.
3. In the Subject field add a title. This will be the post title.
4. In the body of the email, you can write the post. This body will be the post.
5. You can attach an image.
6. You can mark the end with "#end".
7. Click on "Send".
Note:- You can invite other bloggers for posting as a guest post to provide this blogger email address. It is better to keep active "Save emails as draft post" option because you are an owner to approve the posts before publishing.
2. Click on Settings
3. Select Email
Posting using email - You can post your blog directly from your email account to follow the below steps-
Step 1: Create mail with blogger address
1. Here you have to enter the secret word in the address box.2. You can select either Publish email immediately or Save emails as a draft post.
3. If you don't want both of them you can select Disabled option.
4. Now click on Save settings.
Your created address will look like username.secretword@blogger.com.
Step 2: Compose and send the message
1. Log in to your email account.2. Create a new message to click on compose.
3. In the Subject field add a title. This will be the post title.
4. In the body of the email, you can write the post. This body will be the post.
5. You can attach an image.
6. You can mark the end with "#end".
7. Click on "Send".
Note:- You can invite other bloggers for posting as a guest post to provide this blogger email address. It is better to keep active "Save emails as draft post" option because you are an owner to approve the posts before publishing.
Comment Notification Email - You can enter up to 10 email address which is separated by "," (commas) for getting notifications in these addresses when someone comments on your blog posts.
Email posts to - Also here you can enter up to 10 email address which is separated by "," (commas) for getting notifications in these addresses whenever you publish posts on your blog.
You can also follow the below links to know more about other option in blogger settings.
Hopefully this "Email option in blogger settings" tutorial would be helpful for you. If it's so please help your friends and other bloggers to share this post on social media. If you have any question related to the post, please comment on the comment box and also follow this website for more information about the blogging and SEO tips.


These are really amazing and valuable websites you have share with us. Thanks for the informative post. Keep posting like these information.
ReplyDeleteWordPress development company in Chennai
a
ReplyDeleteHaving an E-commerce store that is optimized for the customer requirement is not an easy thing. I definitely do check and correct the E-commerce mistakes and boost my E-commerce conversion rate. Thanks for sharing!
ReplyDeleteConvert Website to Wordpress
hire wordpress developers
Woocommerce Development Company
Convert HTML to Wordpress Theme
PSD to Wordpress Conversion Services